DIY Fabric Covered Frame
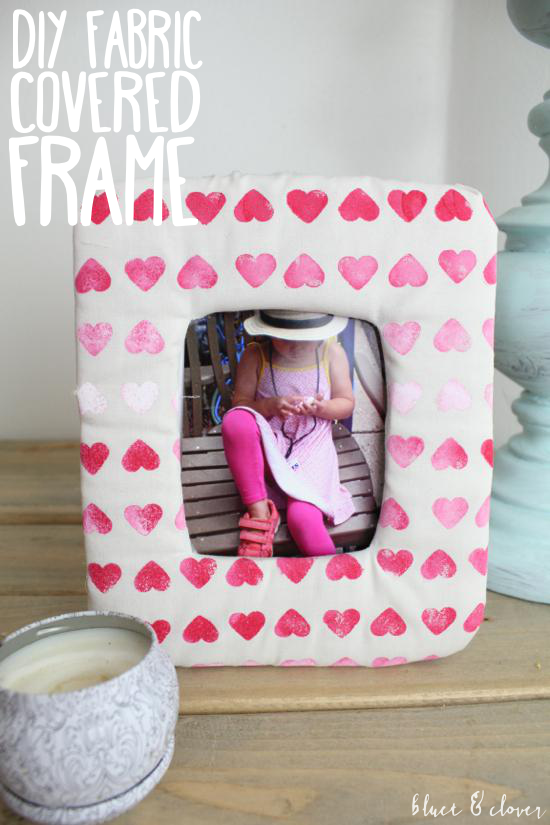
This cute fabric-covered frame is so easy to make and I bet you crafty folks have everything you need to make it!
Supplies
Cardboard
Card stock
Frame template (see bottom of this post)
Glue gun
Craft knife
White cotton fabric
Batting
Supplies for Printing on Fabric
Pink and white acrylic paint
Foam pouncer
Small heart craft punch
Scrap of card stock

Directions
1. Print the frame template and cut the shape out of thick cardboard. Use a craft knife to cut out the opening.
2. Cut a piece of batting to cover the front of the frame. It should overlap by about 2 inches.
3. Flip the frame over and pull the batting over the edges of the frame. Hot glue in place. Cut out the center of the batting and pull over the frame opening. Hot glue in place. Trim any excess batting.

4. Repeat steps 2 and 3 using decorative fabric. Cut slits in the fabric at the frame's opening corners in order to cover the edges neatly. Make sure you pull the fabric nice and tight over the frame's edges.


5. Cut a piece of card stock that is the same size as the frame. Hot glue it to the back of the frame along 3 sides, leaving the top edge open.

6. Cut a 1-1/2-inch x 7-inch rectangle out of cardboard. Bend it about 2-1/2 inches from the top and glue top to back center of frame.

Slide in your picture and that's it!

To stencil the fabric:
Cut a strip out of card stock that is about a half inch wider than your craft punch shape. Cut several heart shapes that are evenly spaced across the strip and trim the short edges. TIP: Cut about 3 strips of card stock and punch through all layers. That way you'll have a couple of fresh stencils to use as you work.
Use a foam pouncer dabbed in acrylic paint to stencil across your piece of fabric and let dry.

Frame template below. Print at desired size.


This is a fun little project that should brighten up your Monday! I plan on keeping mine up way past Valentine's Day.


Comments