Saturday in the Studio
I had a big order for my teacup notecards yesterday, so I spent this morning in my cheery studio printing away.

I thought I'd show you the printing process. Linocut printing has has been around for over a hundred years and not much has changed since then.
After mixing my block printing inks to get this smoky lavender shade, I roll out the ink evenly on a glass sheet using a brayer. You have to roll forward and sideways many times until you get a nice even layer of ink. Too much ink and the print will look blurry or smudged. Too little ink, and the print will look as you might imagine: like you ran out of ink.

There's my carved teacup block inked and ready to print. Actually, it looks like it's just been printed and waiting to be inked up again.
The carving process can take anywhere from 30 minutes to a few days (with lots of breaks in between of course). Most of my blocks are the traditional kind of linoleum either mounted on wood or unmounted. The one above is a newer version of block material that's great for printing metallic inks. It gives a very smooth finish.

The paper goes over the block and then I use a baren to press down in circular motions to get the imprint. There are several different types of barens and I've experimented with many of them. You can also use the back of a wooden spoon to make a print. I've even tried a large fabric-covered button that worked pretty well. There are also presses you can use.

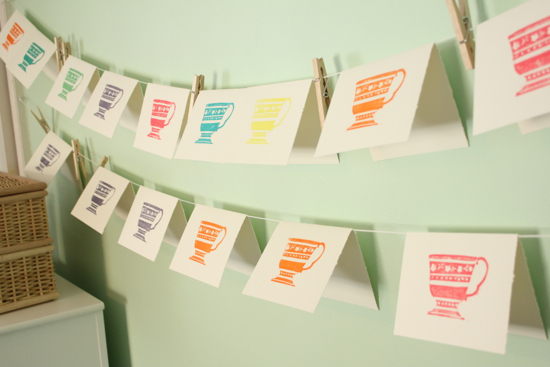
The next step is to dry them. Of course, if the print doesn't come out well (and that happens about once every 4 or 5 prints) then they go into the recycle pile.

I decided to get professional this year and ordered a custom stamp for the back of the cards so customers know where to order more.


The cards are all packaged up with their envelopes and almost ready to go.

Before sealing the package I write a thank you note. Now they're off to North Carolina!
Notecards available from Bluet & Clover.
Notecards available from Bluet & Clover.


Comments