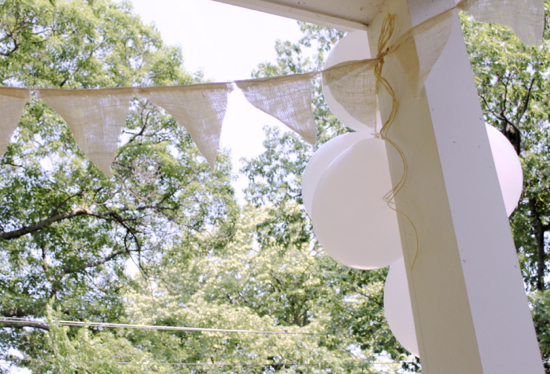
Easy Breezy Burlap Banner
Summer breeze, makes me feel fine... blowing through the burlap on my patio.
Ok, so it's "jasmine in my mind" not "burlap on my patio" but I'm sure Seals & Crofts would agree that burlap makes us feel fine too. Maybe not touching our skin. But how about a burlap banner!
I think this is the fifth birthday banner that's been hung in this house in 2 years.
And because I haven't been blogging a whole lot of projects lately, I thought I'd get back in the swing of things with a 4 step chart that'll have you on your way to hanging your own burlap (or any kind of fabric you want) banner.
All I used was some twine, some burlap (about a quarter of a yard for a 20' long banner), scissors, an iron, pins and sewing machine. Yes, you can glue instead of sew, but glueing open weave fabric like burlap is messy. Better to dust off your sewing machine. And I swear, once you get sewing you'll be finished before you know it and without any glue-gun-burned fingertips.
Before you start, decide the length of your banner and cut the twine accordingly.
Step 1. Make a triangle template out of fabric or paper and leave an extra one inch running along the base of it. As you cut out the triangles, lay them side by side along the twine until you have enough triangles. For those of you handy with a calculator: measure the length of your twine in inches and divide that by the base length of your triangle template to figure out how many to cut.
Step 2. Take each fabric triangle and fold over that extra once inch of fabric and press.
Step 3. One by one, slide the twine under the flaps until all the triangles are lined up on the twine. Pin the triangles in place and sew. Backstitch at the start and finish of each triangle. Leave the edges raw because it looks cool that way.
Step 4. Hang it up and your party space has just become a little more party-like!


Comments