Adventures in Cookie Decorating
I'm not going to lie. Decorating sugar cookies is not one of my strengths. I usually hand the icing over to the kids and let them go nuts. They aren't so worried about creating perfection so it's actually fun for them.
If I do decide to decorate a cookie, I usually just do a single color icing, shake on some sprinkles and call it a day. Anything more complicated than that and I get grumpy, because it never looks the way I want it to.
This year I'm feeling a little more ambitious with the holiday baking, so I decided to practice a little and see if I couldn't improve my icing skills a bit.
After making a few really weird-looking cookies, I started to get the hang of it.
And then I couldn't stop!
One thing that's key to making pretty sugar cookies is having the right recipe. You want your cookies to hold their shape after baking and I found this recipe was perfect. For the royal icing I used this recipe.
One mistake I made on the first round was putting on a base of icing on several cookies all at once. By the time I got back to doing the swirls with different colors, the base had already set and cracked instead of flowing the way it's supposed to. So make sure you do one cookie design at a time.
The two supplies that took my decorating skills to the next level were plastic squeeze bottles and skewers. The bottles not only give you control over the icing, but they keep it nice and moist so it doesn't dry out.
The skewers are perfect for spreading out the base color and dragging through the icing to make pretty shapes.
Here are a few steps that helped me ice the cookies.
First, I put the icing into 4 squeeze bottles (one for each color). I added the food coloring directly to the bottles and stirred with a skewer. Then I placed the bottles upside down in a bowl so that the icing was ready to flow when I grabbed them.
Here are a few design patterns I used. Notice the pointy end of skewer is doing most of the work. As you drag it through the mix of colored icing it makes the coolest designs.
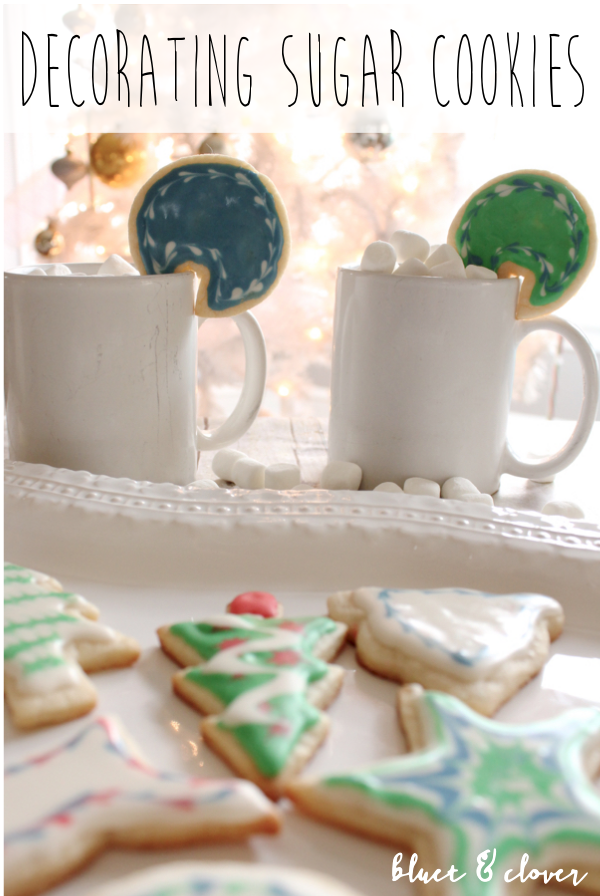
I thought it would be fun to surprise the kids with sugar cookies and hot chocolate after school. To make their treat extra cute, I cut out a 1/2" long, 1/4" wide notch in the cookie dough before I baked it. That way the cookie sits right on the side of the mug.
Now I need to get these cookies out of the house before I eat all of them!


Comments