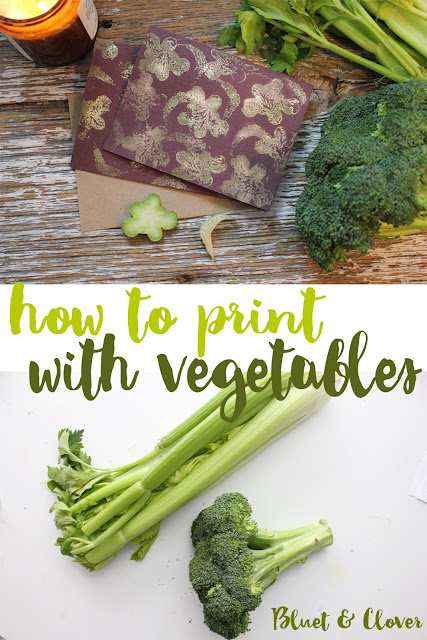
Stamping with Vegetables
We've been having a pretty uneventful winter break. The weather is crummy and the car's in the shop which pulled the plug on my plans to go on some day trips.
But when the weather outside is frightful and you've no place to go, you get to crafting, right?
This idea of printing note cards with vegetables has been at the back of my mind for awhile now. If that sounds strange then you're not spending enough time on Pinterest. Stamping with veggies is nothing new, but it's one of those things I just haven't gotten around to trying. And the kids have their thank you notes to write, so I did what any crafty mom would do. I handed them some broccoli and told them to get started on those thank you cards!
 After watching them have quite a bit of fun, I decided it was my turn. And also time to take things up a notch with some moody burgundy paper and gold ink. How sophisticated!
Stamping with vegetables is a very intuitive process. Interesting shapes appear without giving things too much thought. I see flying dragons on one card and hibiscus on another.
I'm kind of in love with these cards and this method of just seeing what happens.
And just in case you want the step-by-step, it's quite simple.
Just cut the ends off some veggies and use them just as you would a rubber stamp. I used broccoli and celery, but you could use potatoes, carrots, chard stalks, or a cob of corn. I had to get just a little fancy and use a pigment based ink which is slow drying and allows you to add some embossing powder. If you take this extra step, you'll need to set the embossing powder with a heat tool. And be sure to pour the embossing powder over a sheet of paper so you can pour the excess back into the container.
The paper I used is Canson Mi–Teintes in burgundy. I cut an 8 1/2 x 11" sheet in two and folded each half to make two 4 1/4 x 5 1/2" cards.
Oh yes, this was a crafting success. Try it out!
Here's to keeping things simple and a very Happy New Year!


Comments